Blade History
The takobiki knife is a variant of the sushi knife from the Tokyo region that dates back to the end of the Edo period in 1866. It translates to “Octopus pull-cutter” and its shape is characterized by a straight blade edge, thin spine, and square profile towards its end. Compared to other sushi knives, the takobiki requires a more circular cutting motion as the blade has no curve. Some variants like the Sakimaru Takobiki introduce a tapered point to the straight blade. A takobiki knife typically has a fine single bevel profile between 9 and 15 degrees.
In the Edo period of Japan, sushi was commonly prepared in front of guests. The prevailing narrative is that the sharp tip was removed from the design of the blade to avoid any perceived threat to guests when cutting fish in front of them. I have not found any primary source to confirm that account.
My Blade Design
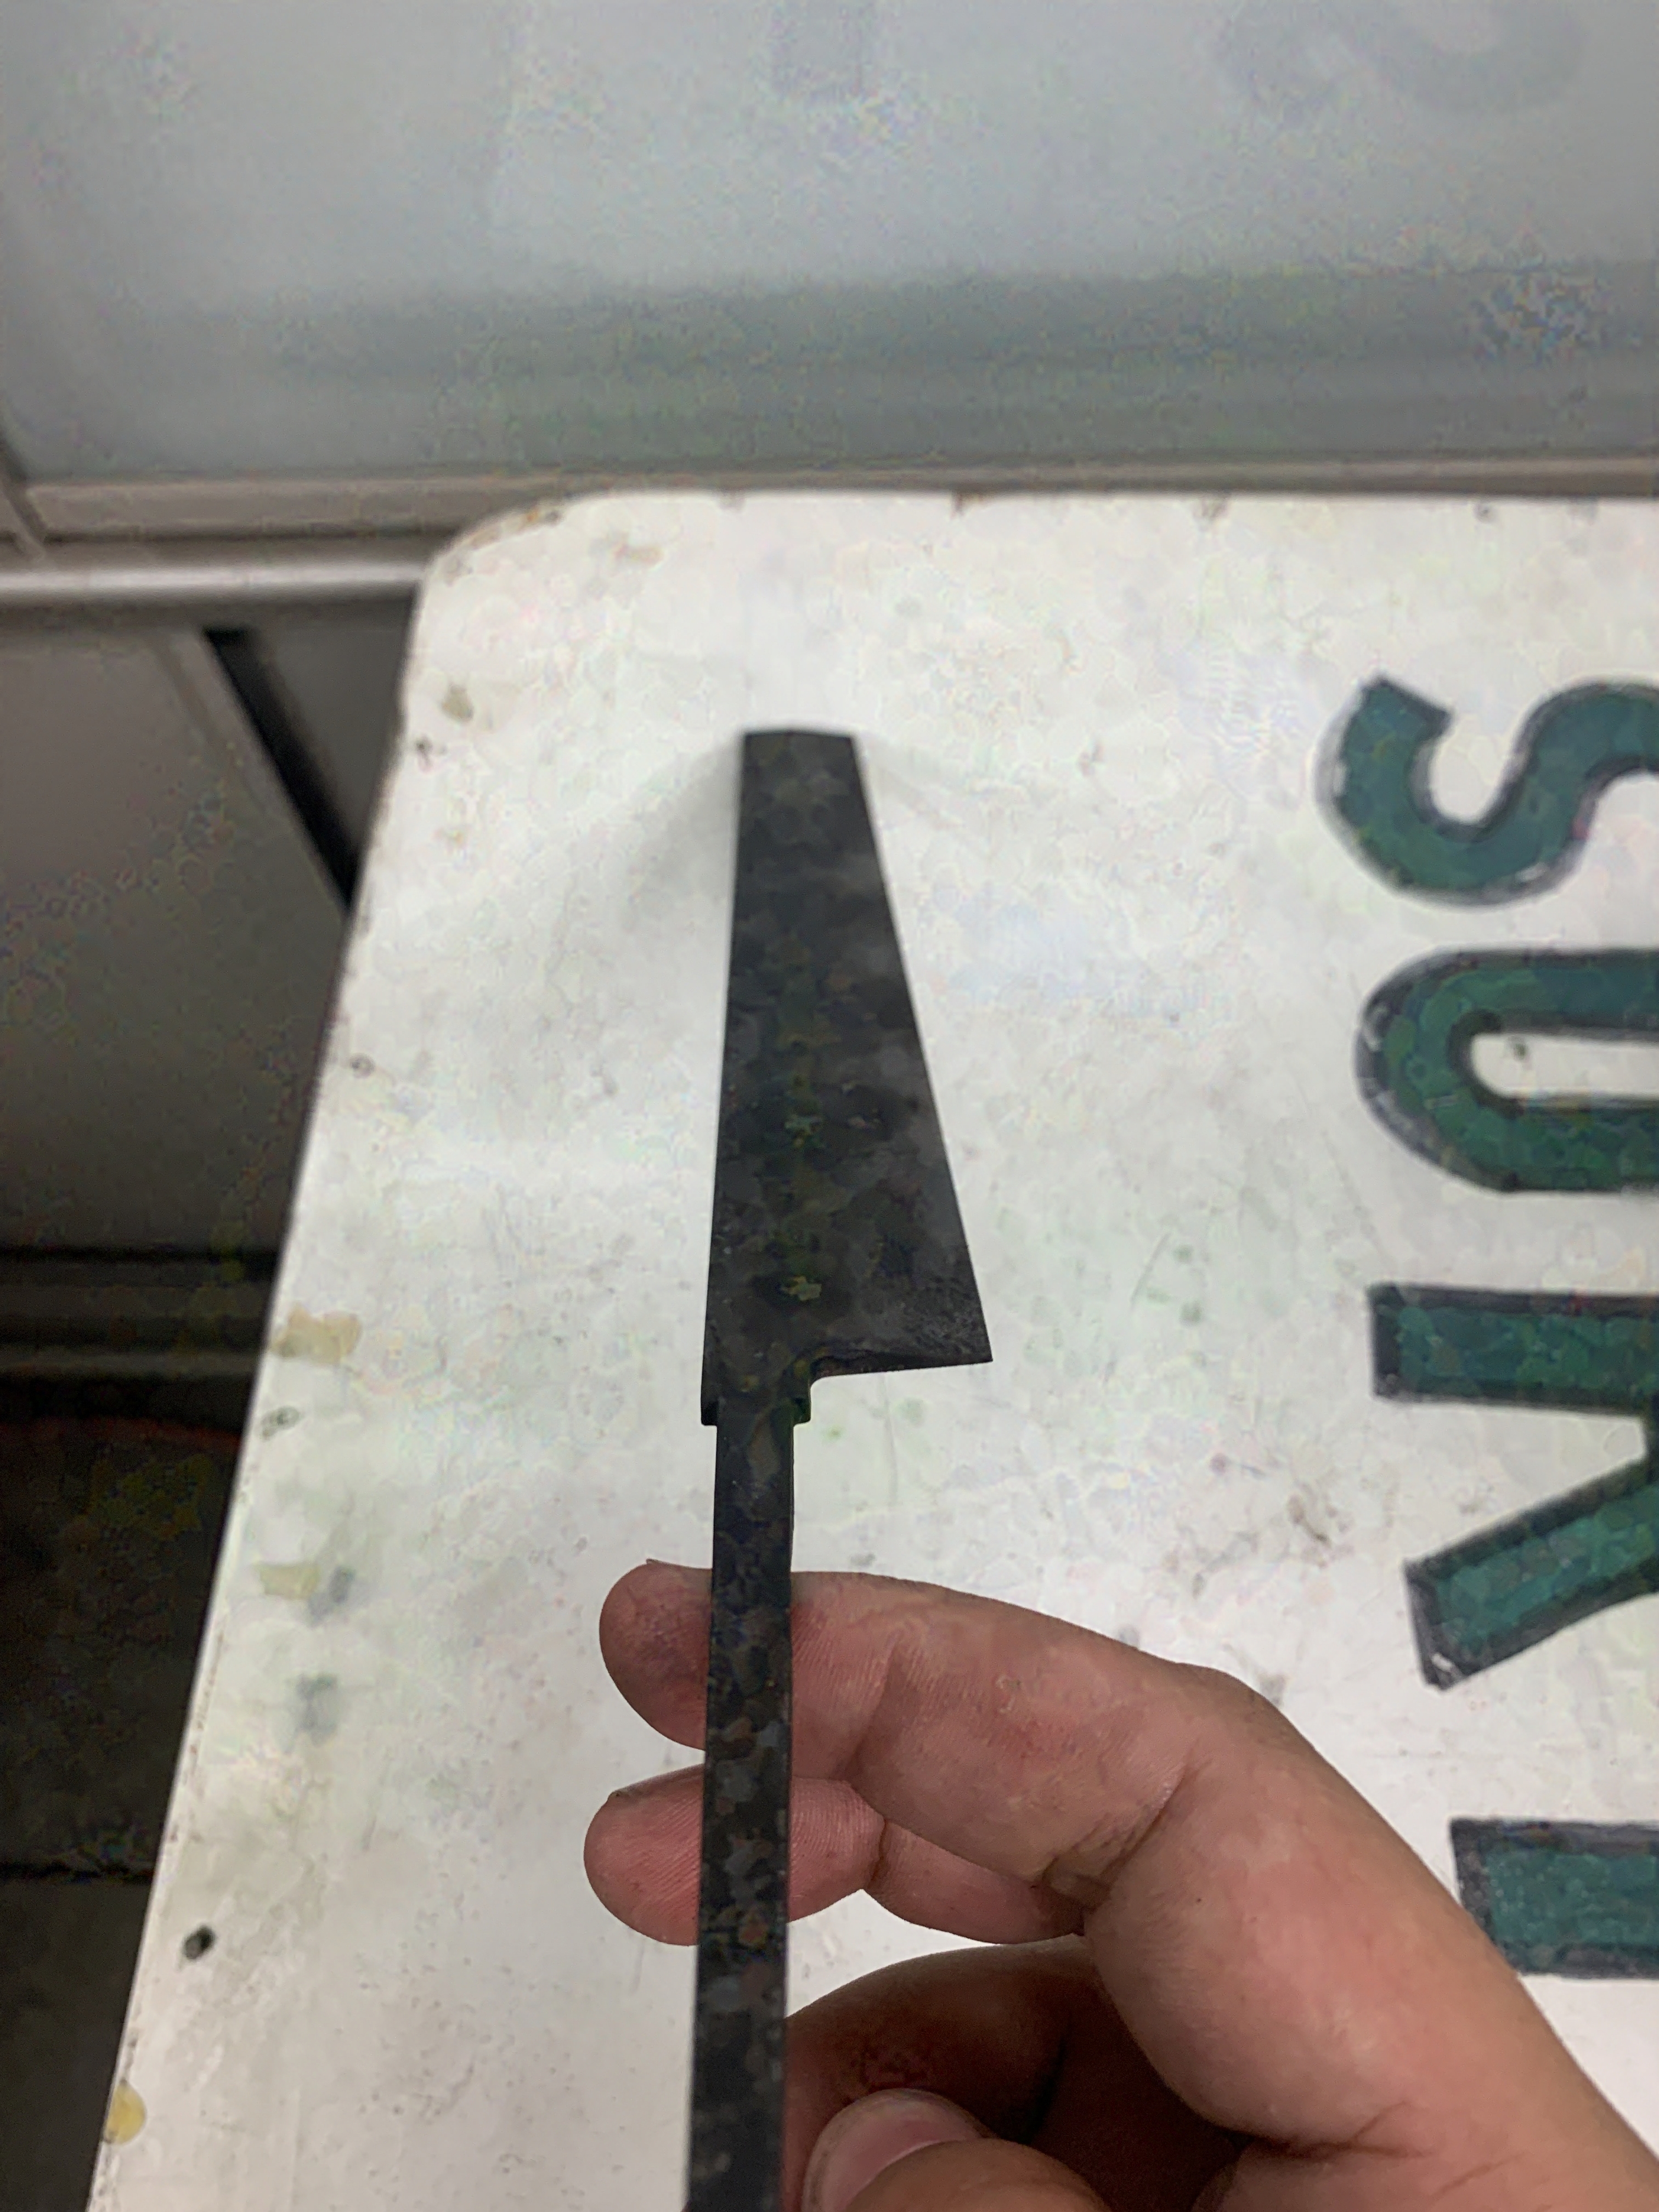
I used a 1084 steel with a 12.5 degree single bevel blade angle keeping inline with the tradition style. From my research many of these knives appear to have a subtle taper which would move the weight towards the handle and make it easier to manipulate. My design has a slight taper by 2 degrees towards the end of the blade to give it a slightly less blocky look.
Jig Construction
To cut the primary bevel I constructed a jig to be used for future knife blade roughing this jig was designed to be used in a milling machine with a fly cutter or face mill. The jig was designed to hold the blade striaght without a taper, however I added a 3d printed component to hold the blade a tip a fixed distance away from my zero reference point on the jig corner. This allowed me to precisily adjust the taper. I CNC milled the base of the jig out of allumnum and waterjet a steel plate for the top clamping face. Then I placed bolts through each of the holes which were tightened with the knife blank in place.
Heat Treating Process
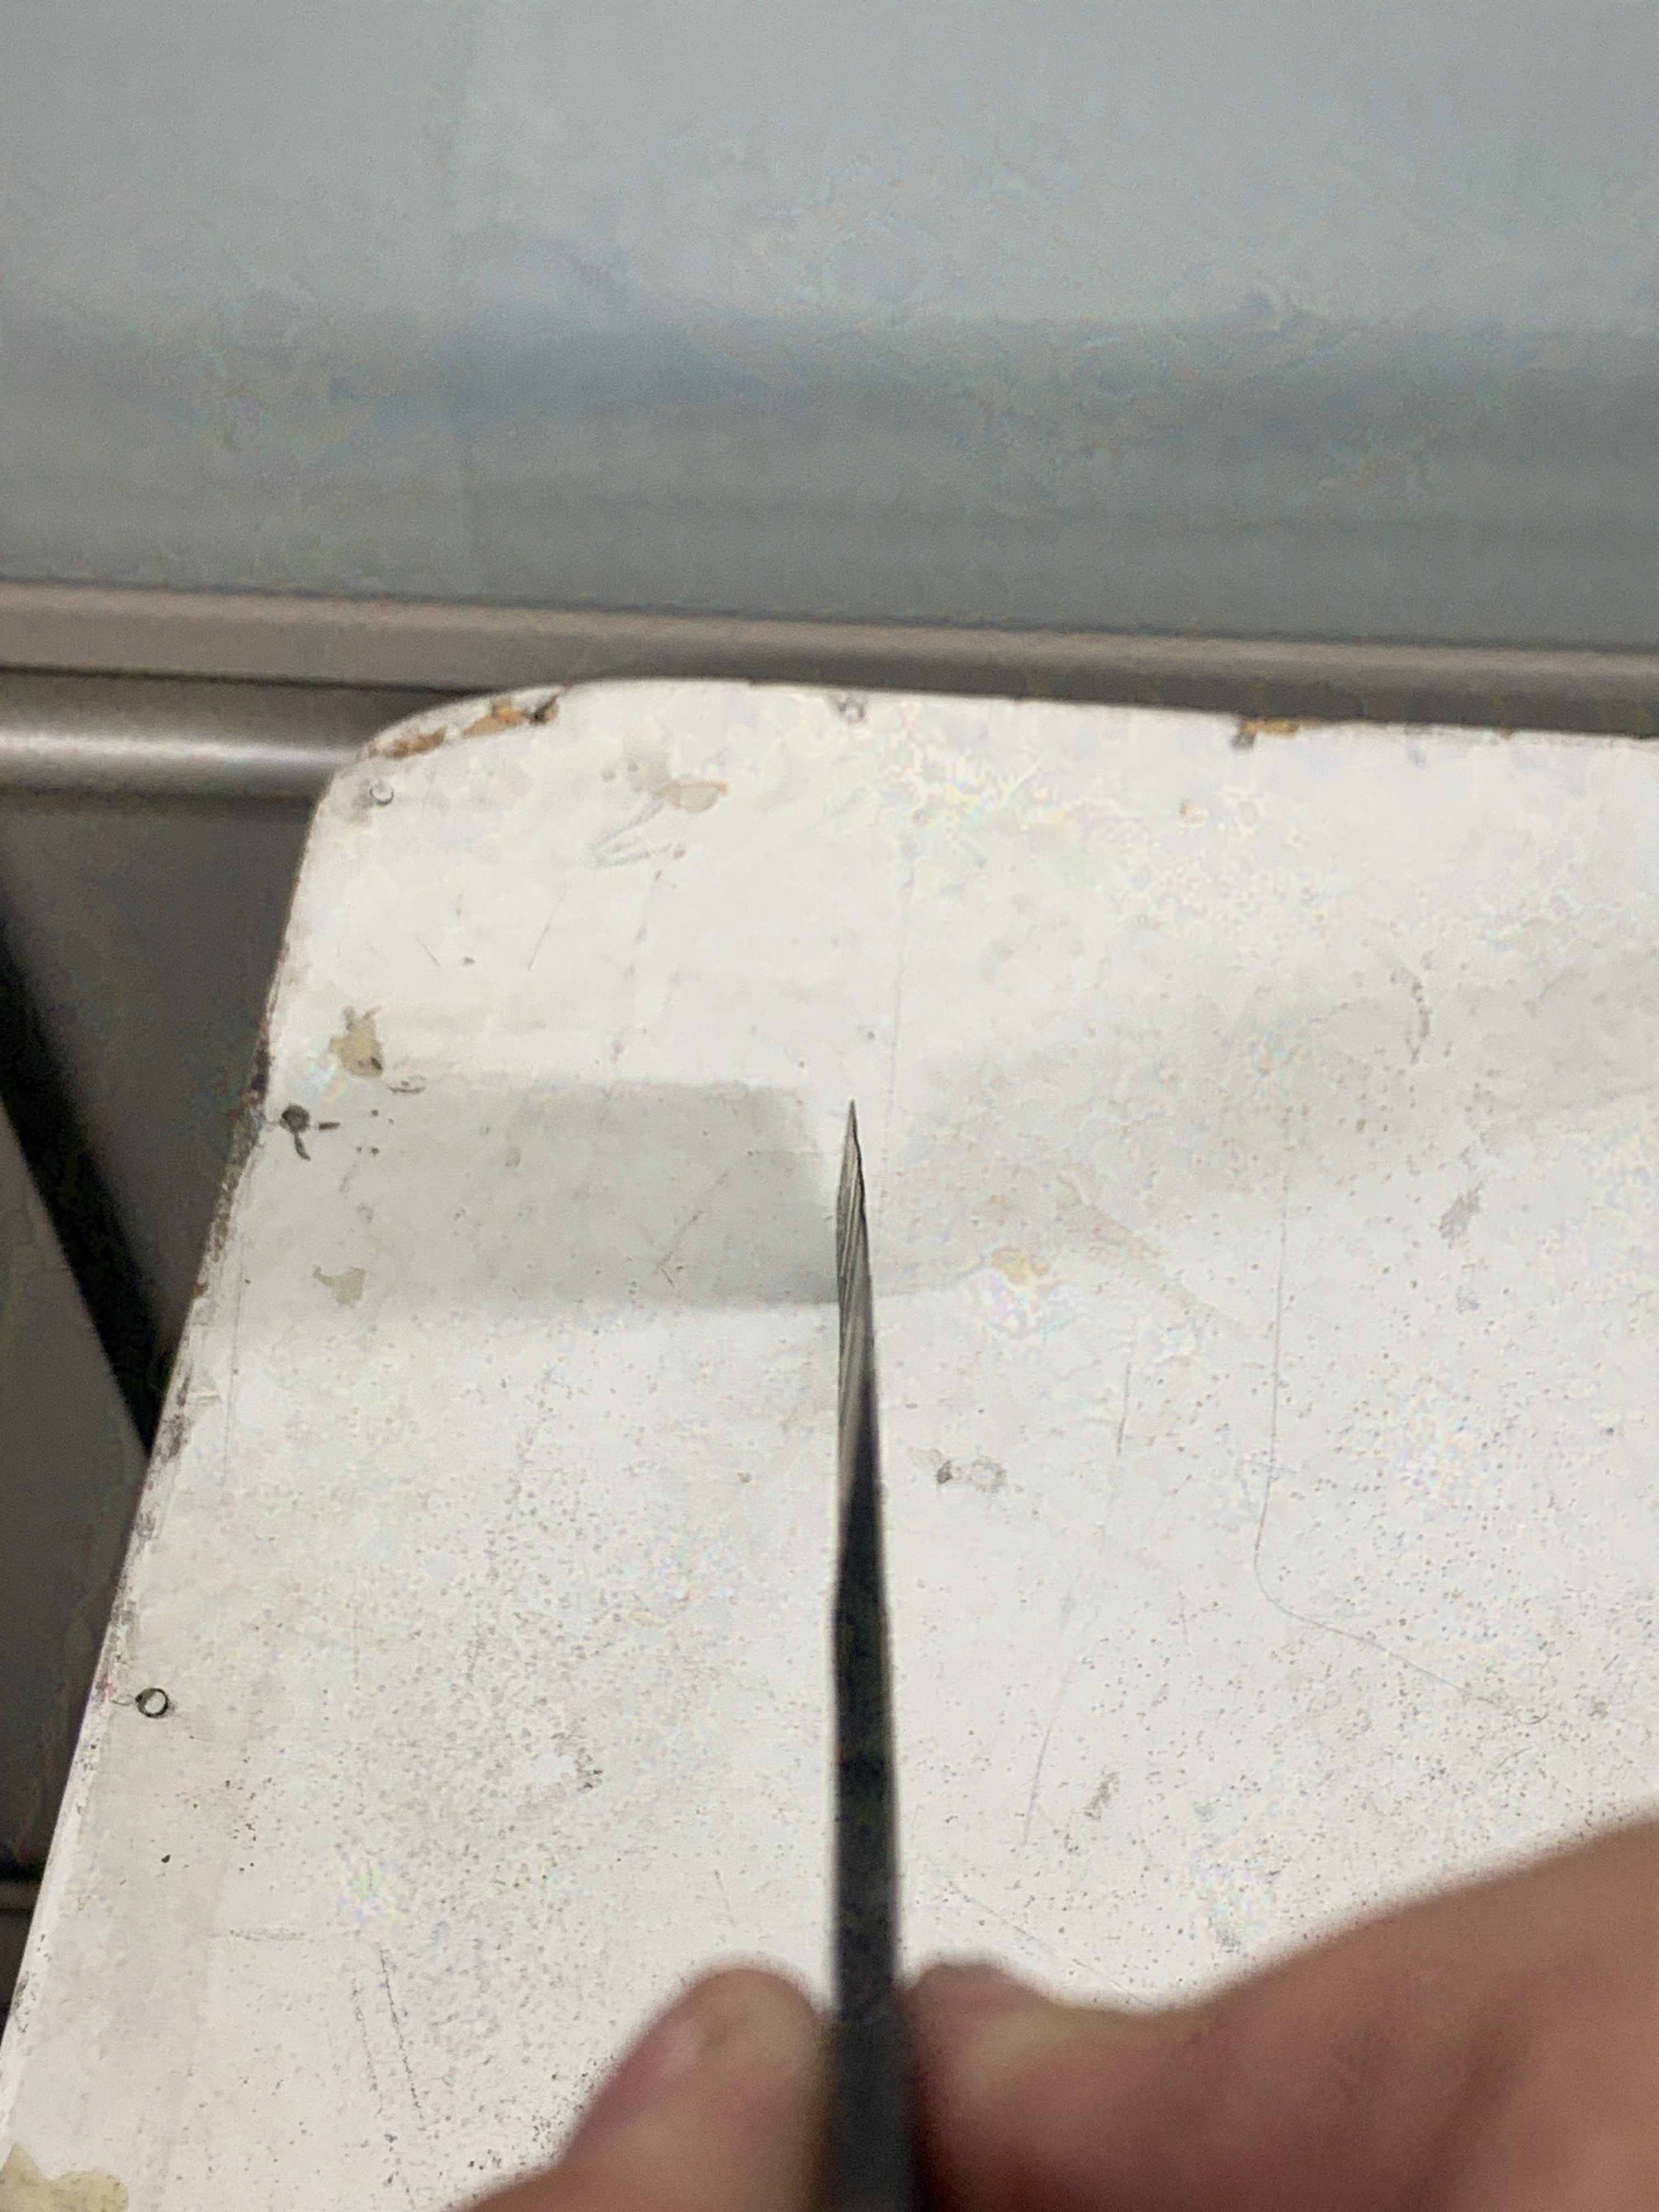
After milling the major bevel I normalized the steel in a furnace to remove any internal stresses from the machining process. Then I hardned the steel by heating it up and quenching it in water. Generally this is risk and the fast cooling can create cracks in the blade. I was lucky and only saw ripples in the blade tip. Likely this is because my blade edge was too fine before quenching. I was able to straighten the blade with a ball peen hammer to eleminate the curves. Finaly I tempered the blade at 400 degrees to reduce some of the stresses from the quench and return some ductility to the blade. I proceeded to sharpen the blade with a wet stone and polish to acheive desired finish.
Hardness Verification
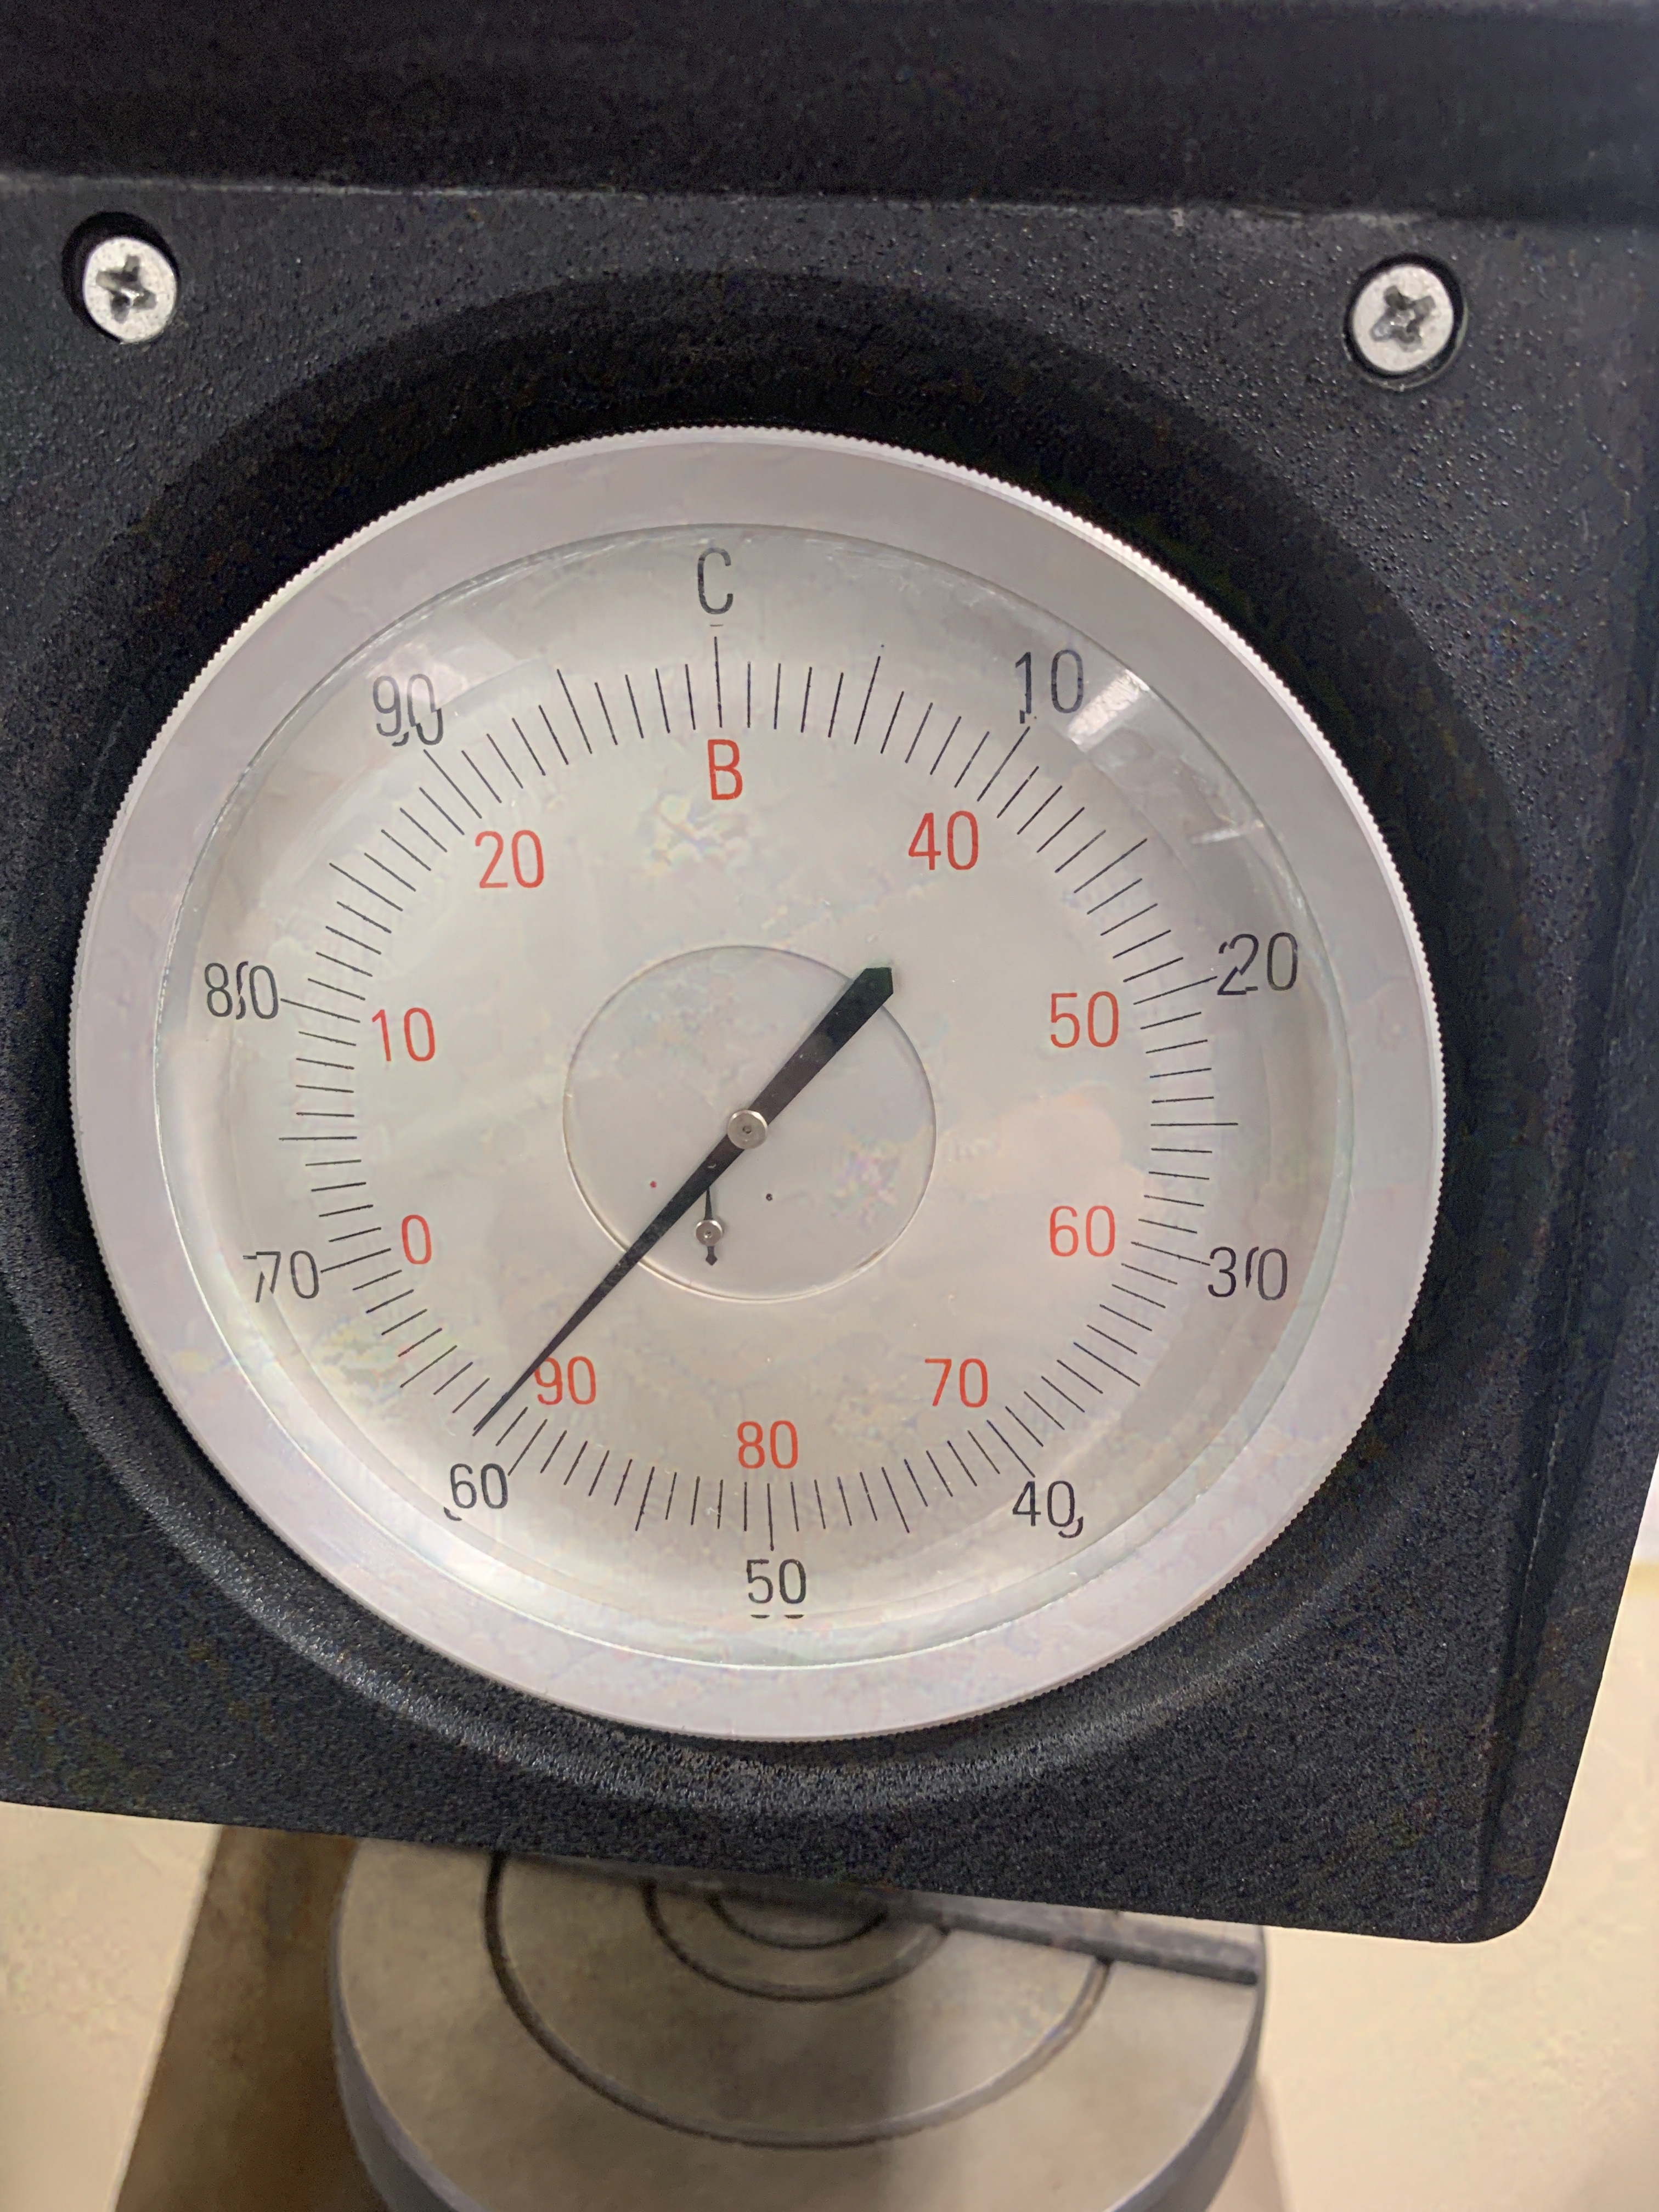
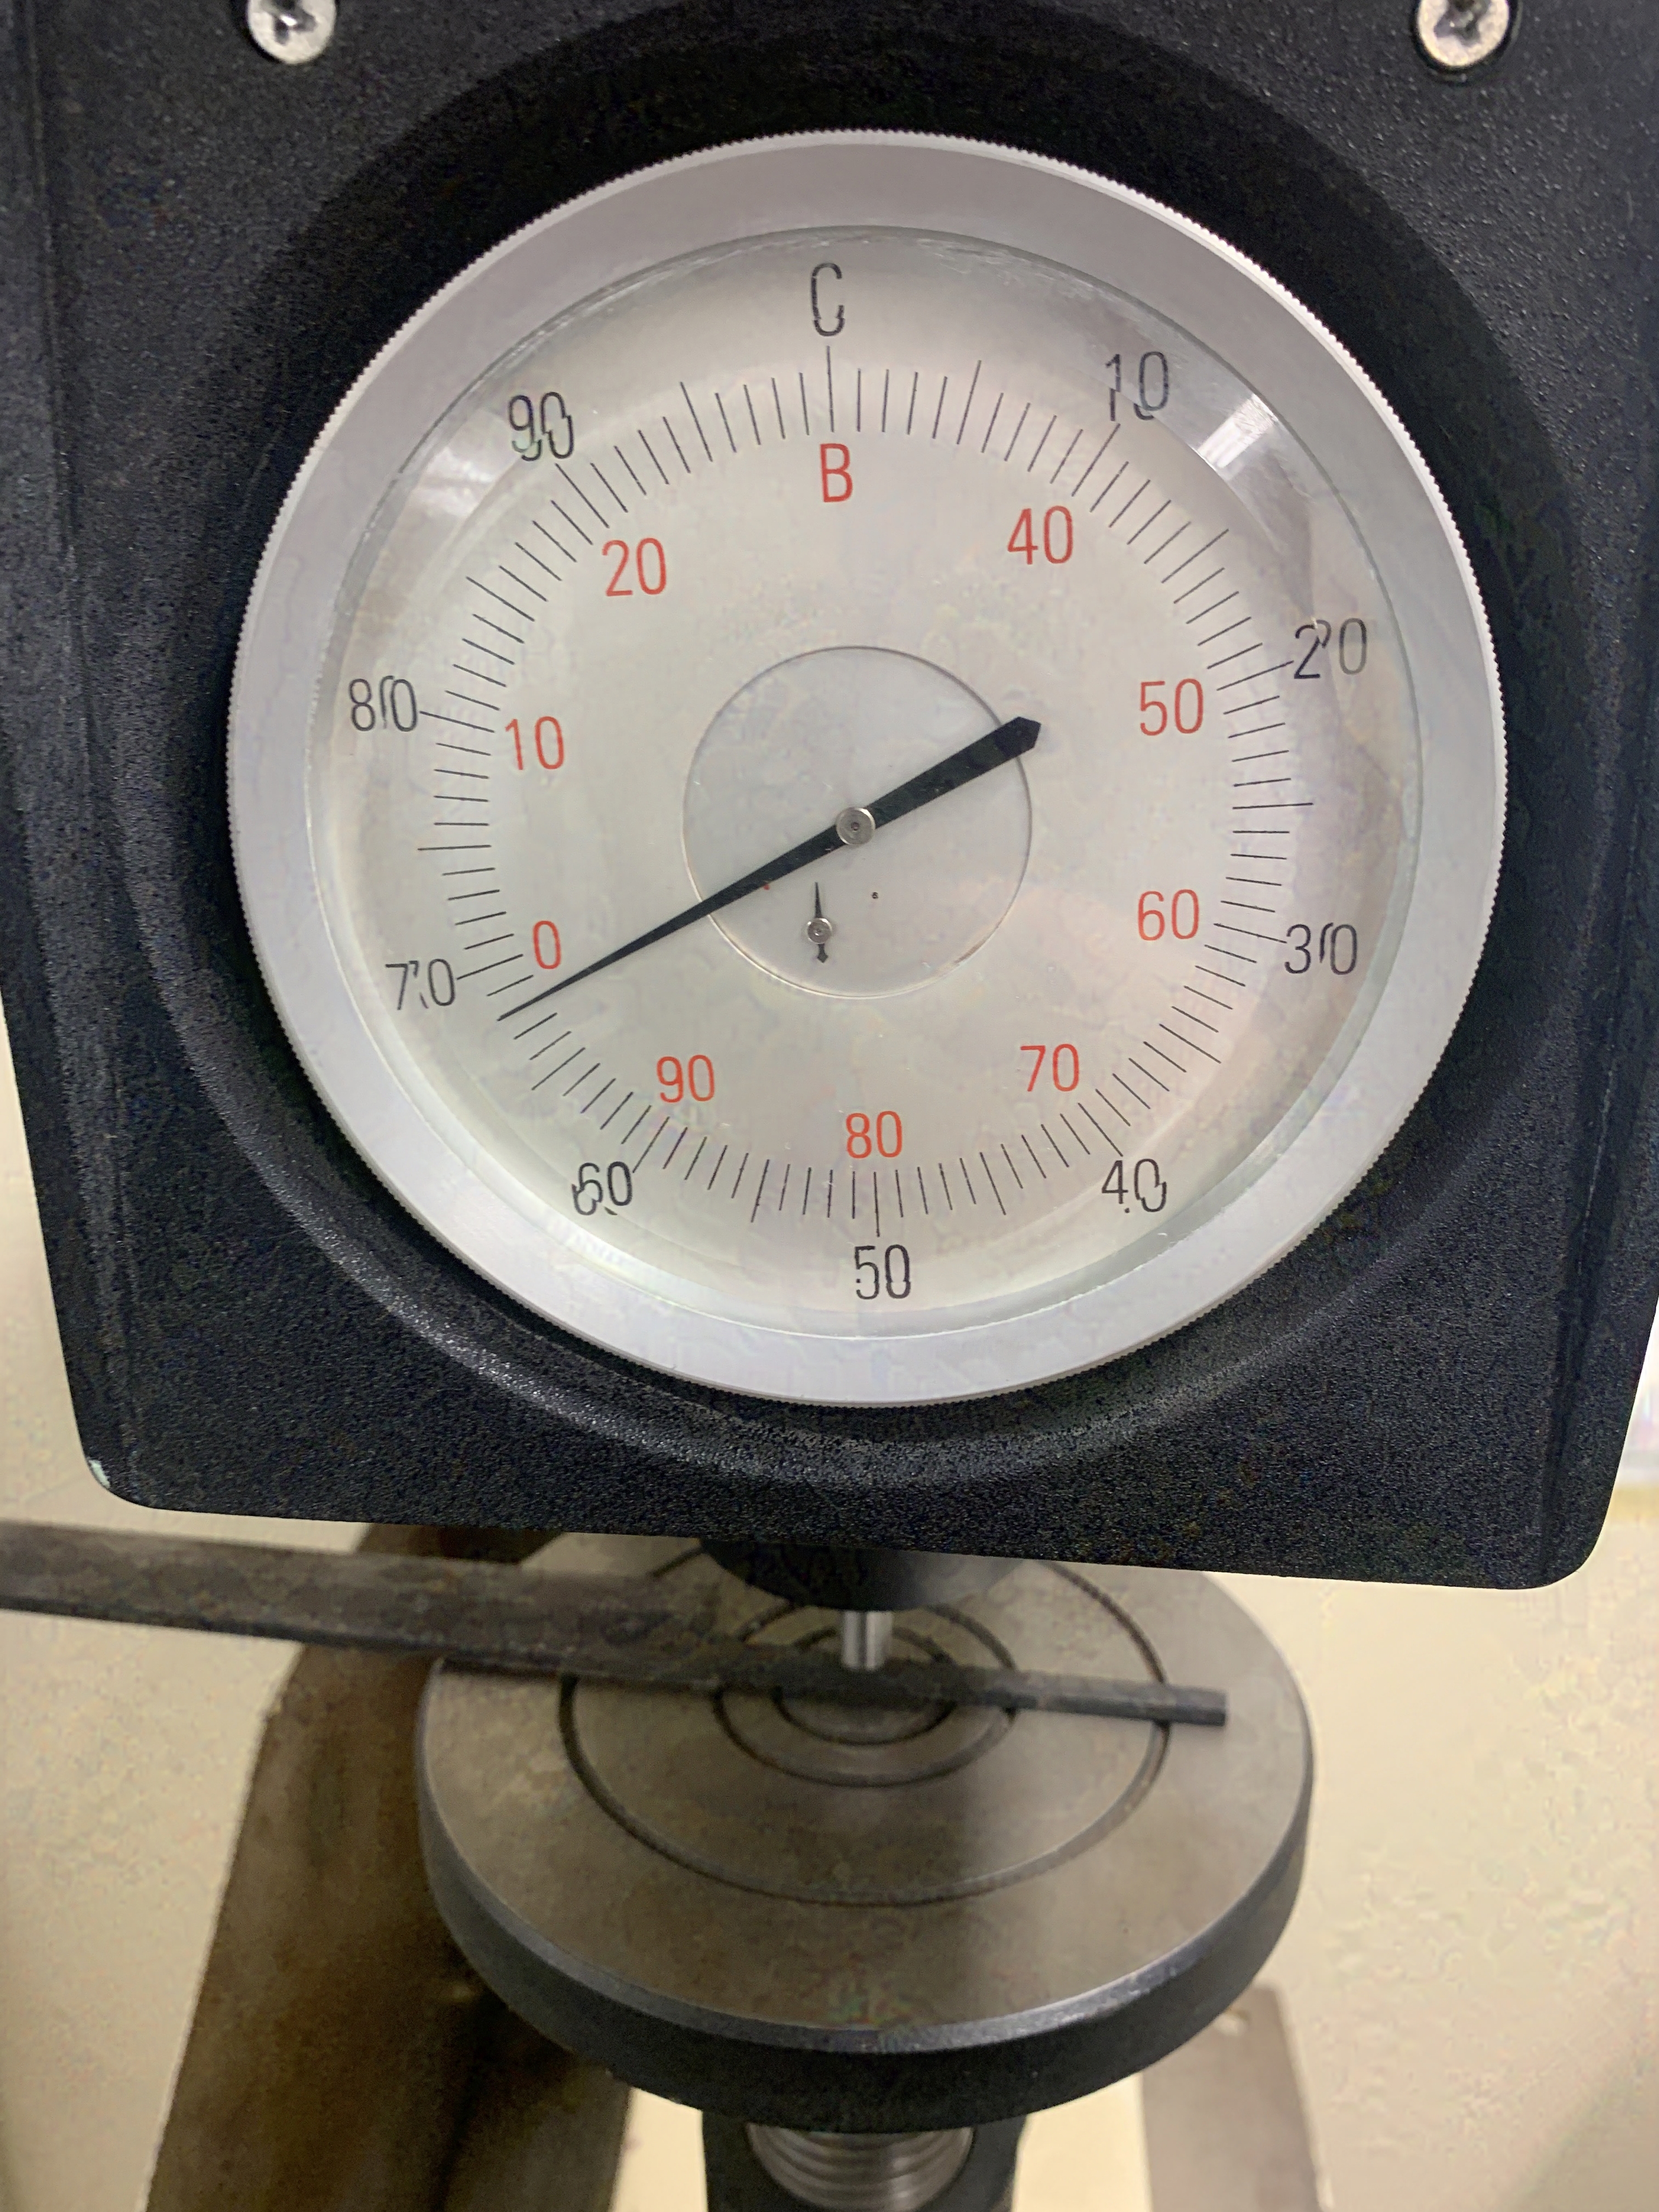
I tested the hardness of the resulting blade and saw roughly a Rockwell C hardness of 65 across 5 samples which matches public data about water quenching 1084 steels. I believe the +/- 3 HRC variability was due to the fact that I measured on the tang which is where I held the blade for quenching and movement to kiln.
Handle Fit Check
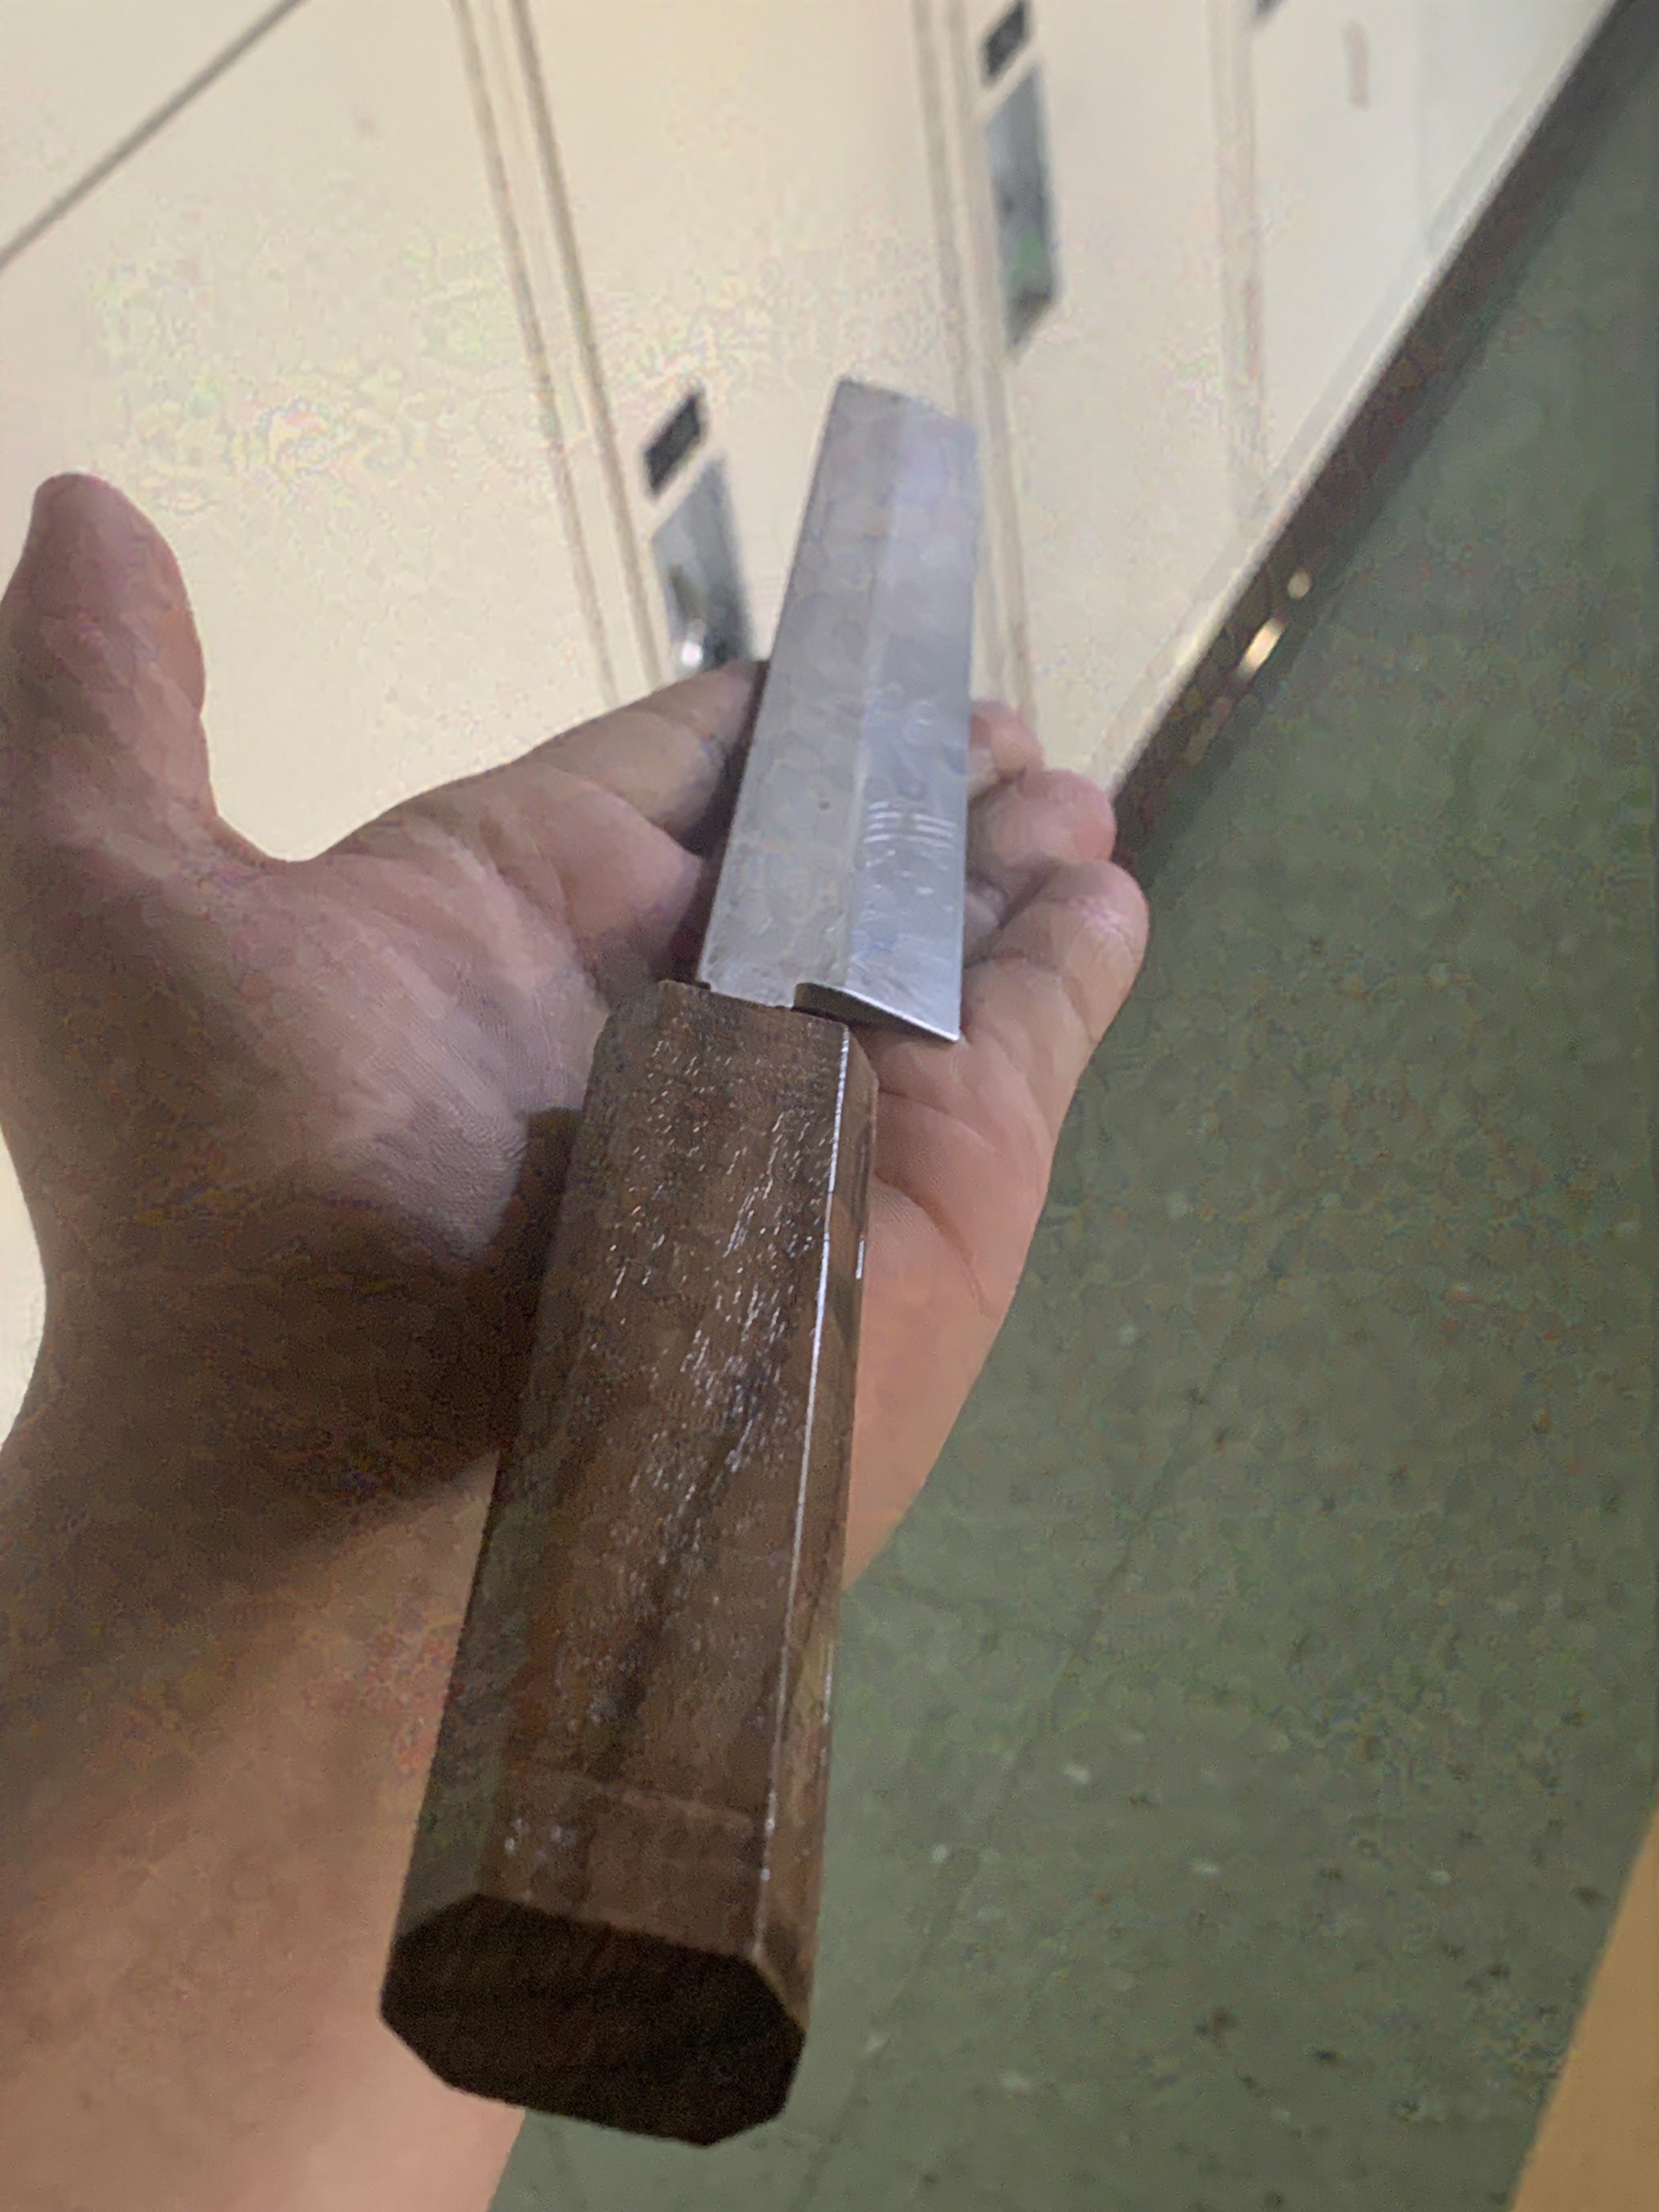
I wanted to make sure that my blade would seat properly so I made a practice walnut handle and checked my setting method with an untreated blade. See below.
Final Thoughts
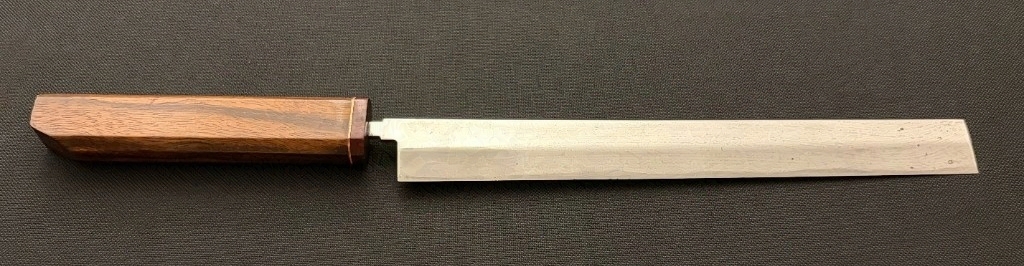
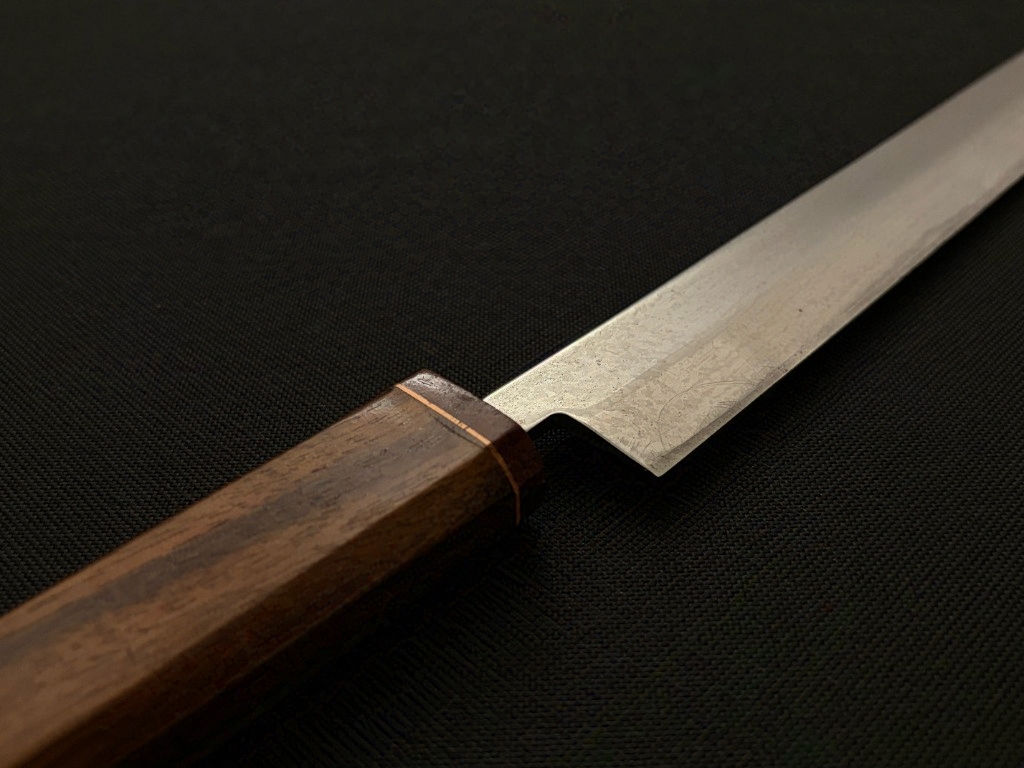
I made a dark walnut and maple handle with copper inlay. Overall I was very happy with the results especially for the first knife I've made. The blade is functional and matches the classic takobiki style I set out to create. One area of ipmrovement is the heat treating process. It is best practice to heat treat the blade in an oxygen free envrionement which can be acheived in a couple ways such as with a nitrogen bath or charcoal around blade. I had neither so i had to do a bunch of post work polishing and removing scale from the process. Not doing this most likely reduced the quality of the blade by allowing for the formation of iron oxides such as magnetite and hematite creating dislocations in the steels martensitic crystaline structure.